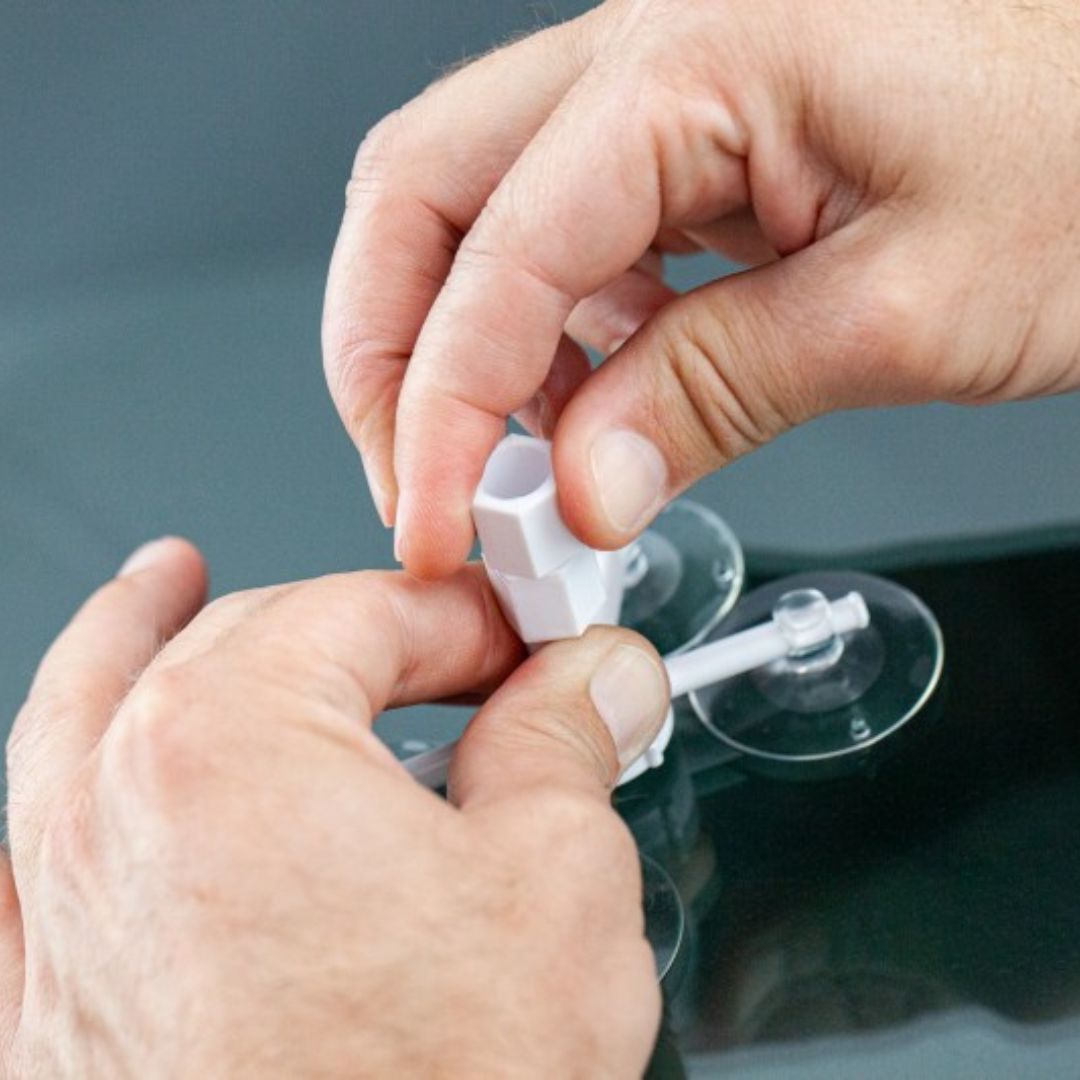
The QUIXX Windshield Repair Kit is the reliable and cost-effective alternative to the expense of replacing a windshield and can be a life safer for NCT failure.
The kit includes all special tools and a highly effective, transparent resin enabling you to repair damage to automotive glass like a professional.
Bullseye, half bullseye or star breakage – the names for windshield damage may seem comical but the consequences are not a laughing matter: NCT don’t find them at all amusing and the complete replacement of the windshield without being able to fall back on partial or fully comprehensive insurance is expensive.
Product Details
- Simple, fast and effective application
- Stabilises and seals the damaged area
- Helps to prevent further cracking
- Avoids expensive repairs and maintains value
- Excellent results through LGT (Liquid Glass Technology) - the repair is almost invisible
- Repair resin MADE IN GERMANY
- Let's get started: The all-inclusive kit contains all the utensils you need for making repairs.
What's in the box
- 1 bottle of special repair resin, 1 set of repair tools, 4 curing films, 1 razor blade and 1 pair of disposable gloves
How to use
Download the instructions here
- The repair should be made as soon as possible after the damage has occurred. The windshield should be shielded from direct sunlight during the entire repair process. Before beginning the treatment clean the damaged area of the windshield with a dry paper towel and remove any loose pieces of glass by carefully cleaning the stone chip with the razor blade.
- Attach base of the applicator over the damaged area so that the opening is directly above the entry point (do not cover any of the cracks with the suction cups) and screw the container tight. Make sure that the rubber seal rests directly on the windshield. This will prevent the resin from leaking out and enable pressure to build up in the container. Now fill the repair resin into the container. Examine the damaged area from the inside of the windshield to see if enough resin has been used.
- Now turn the pressure plunger clockwise into the repair resin container. Then release the pressure plunger from the container so that the air trapped in it can escape; this is audible. Add some more resin to the container and close it again. Allow the repair resin time to fully penetrate the crack/spalling for approximately 4 to 6 minutes depending on the extent of damage. A hair-dryer can be used to heat the area being repaired; this promotes the flow of the resin. Unscrew the pressure plunger and remove the applicator tool.
-
Apply a drop of the repair resin to the outer area and cover with a curing strip. Place the car [windshield] directly in the sun or use UV light to cause the repair resin to cure completely (takes about 5 to 10 minutes) and then remove the curing strips. After curing, carefully scrape off hard repair resin from all areas except the treated area.
NOTE: To ensure the stability of the windshield, repairs should only be made if the cracking is no greater than 2.5 cm in diameter. The damage must not be less than 10 cm from the outer edge of the windshield. The damaged area must not be directly in the driver's field of vision. A windshield may only be repaired a maximum of 3 times.


